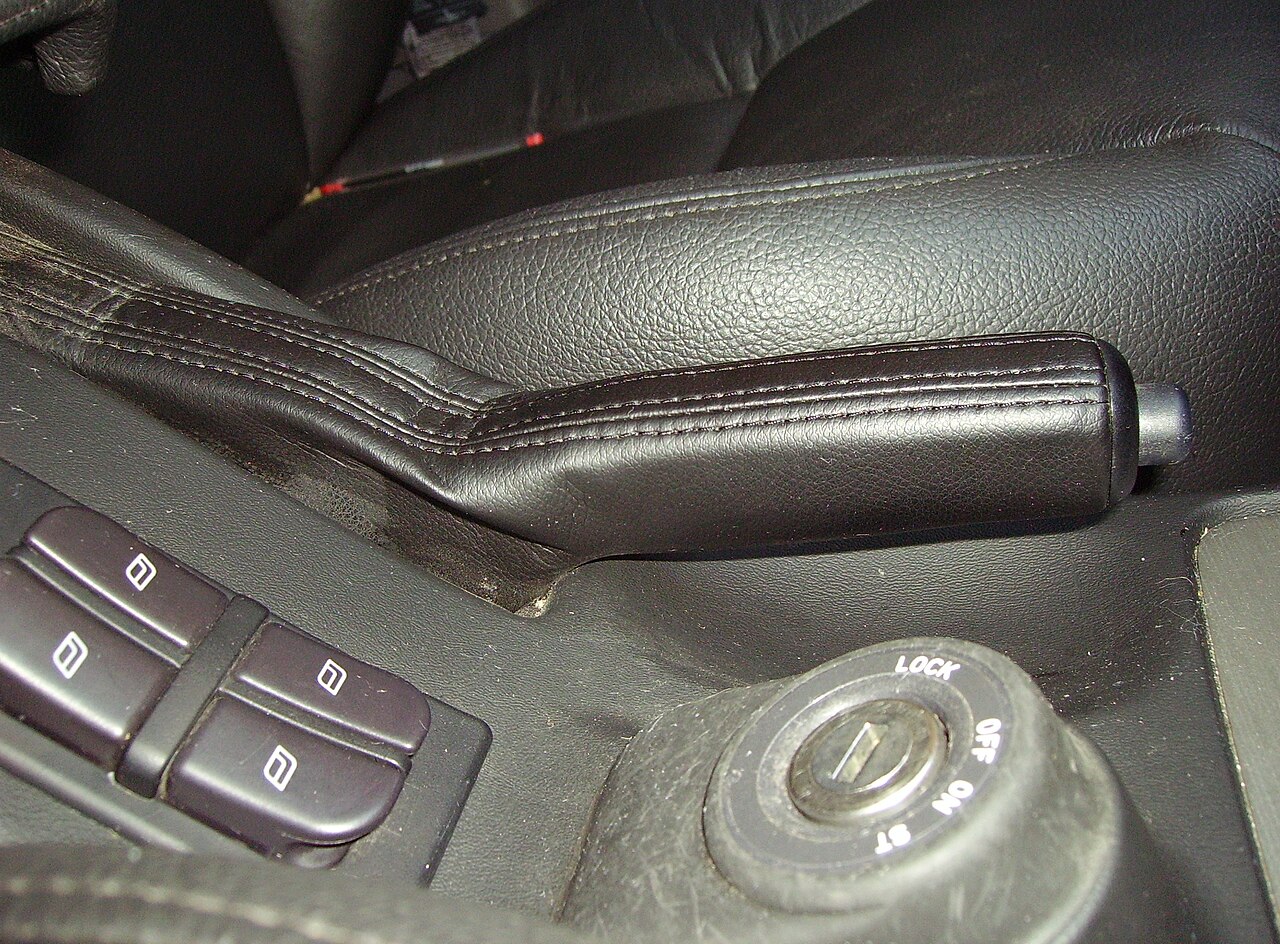
It was a humid Saturday afternoon in Aventura, the kind of heat that makes a block feel like a sauna. I was pulling over on Collins Avenue to let a neighbor drive over a small parking lot. He leaned his car up against the curb, turned off the engine, and pressed the parking‑brake lever. He let the car sit for a moment, then started to worry when the tires seemed to drift a foot toward the street. That quick slide told me the parking brake was not holding fast enough.
The moment a car rolls when you let go of the parking brake is a red flag. It’s not just a small slide—it can mean a serious problem that could leave you stranded or, worse, cause a collision.
What signs mean your parking brake is weak?
When you set the parking brake, the car should stay motionless for a few moments. If you notice:
- The wheels slowly turn back toward the street
- The car moves even when the engine is off
- You hear a clicking or grinding noise from the brake system
- The brake lever feels loose or gives way when you pull it
These symptoms point to worn brake shoes, a slipping cable, or a cable that has stretched over time. In Aventura’s salty air, corrosion can also bite into the brake components, making them less effective.
How can I test my parking brake at home?
Testing is simple and doesn’t require any special tools. Follow these steps:
- Find a safe spot: Park on a level surface or a gentle slope, preferably on a private driveway or a parking lot with no traffic.
- Engage the parking brake: Pull the lever or press the pedal fully and hold it in place.
- Release the engine: Turn off the ignition and let the vehicle rest.
- Observe: After about 30 seconds, check if the car stays put. If it’s on a slope, keep an eye for movement for at least one hour.
- Pull the brake again: If the vehicle rolls, pull the brake again and hold it for a few more minutes. If it still moves, the brake is not holding.
For a more detailed visual guide, watch this short video that shows the exact steps and what to look for.
The embedded video is a hands-on DIY walkthrough of replacing front brake pads and rotors on a Honda Civic. It is about the service brakes rather than the parking brake, but it is worth watching: you will see what brake hardware looks like up close, how worn pads and rotors present, and why neglected brake parts lose their grip. That is the same wear-and-corrosion story behind most weak parking brakes.
Why does a parking brake fail?
Parking brakes are mechanical systems that rely on friction and cable tension. Over time, several things can reduce their effectiveness:
- Cable stretch: Metal cables elongate with repeated use, especially in damp, salty conditions common in South Florida.
- Worn brake shoes: The rubber or metal shoes that press against the drum degrade, leaving less friction.
- Corrosion: Salt mist can corrode the drum or the cable housing, weakening the connection.
- Improper adjustment: If the brake is set too loose, it won’t apply enough pressure to the drum.
Because the parking brake is a safety device, any of these issues can make a car roll even when you think it’s secured.
What maintenance keeps it reliable?
Routine checks and minor adjustments can extend the life of your parking brake:
- Monthly visual check: Look for any visible cable fraying or rust on the brake drum.
- Quarterly functional test: set the brake on a gentle slope and confirm the car stays put.
- Every 12,000 miles or 12 months: Have a technician adjust the cable tension and replace the shoes if worn.
- Keep the brake system clean: Remove any debris from the drum and wipe the cable housing with a clean cloth.
In Aventura, the humidity can accelerate rust, so paying extra attention to the brake drum and cable at each service visit is
When to call us
DIY is great, but some jobs need a pro. If the problem persists, you spot anything dangerous, or you'd rather have an expert handle it, call (786) 892-8110 — Aventura Mobile Auto Care serves Aventura and nearby (Mon-Sat 8AM-8PM). No pressure, no upsells.